Working on a photo tutorial of this pattern here: https://hobohooker.wordpress.com/2017/03/19/person-pattern-free-beginner-series
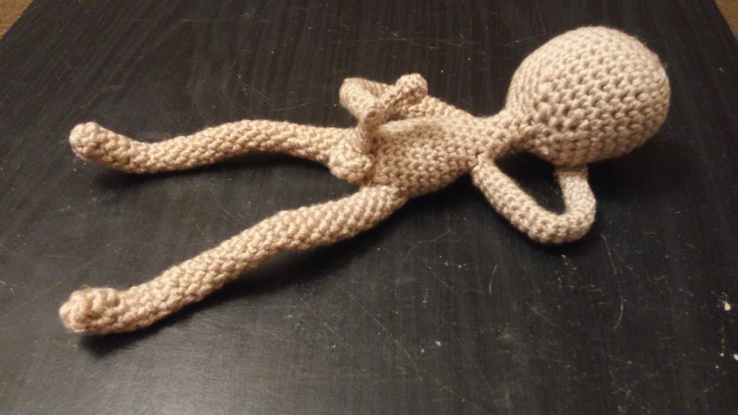 Meet Harry Richard…
Some say he lives a sad lonely life jerking it to internet porn all day long,
some say he is living the dream.
Terms of use for this pattern: Please use and enjoy!
Harry Richard
Materials Used
G hook and D hook or #5 steel crochet hook
Scrap yarn (DK/worsted weight)
You will also need a small amount of your yarn broken down into 2 ply yarn or crochet thread, for the small details
US terms
Ch – chain
MC – magic circle or double adjustable magic circle
SC – single crochet
SC DEC/INC – single crochet decrease/increase
Sl st – slip stitch
sts/( X sts)- stitches (total number of stitches in row or round)
Head + Body
G hook or 3.5 mm hook, worked from top of head down to body
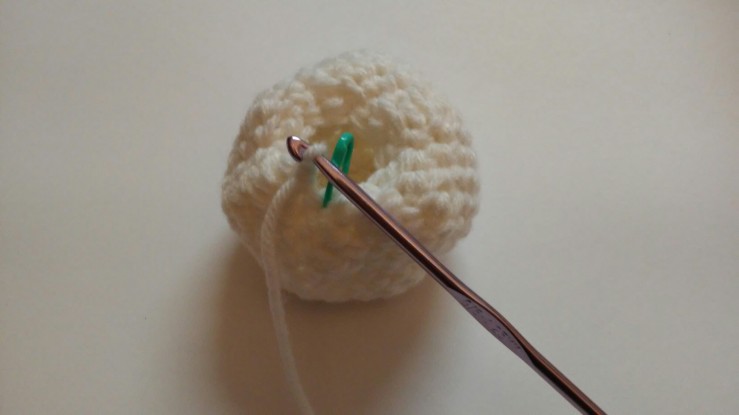
Do not join, mark beginning of each row
Don’t forget to stuff as you go.
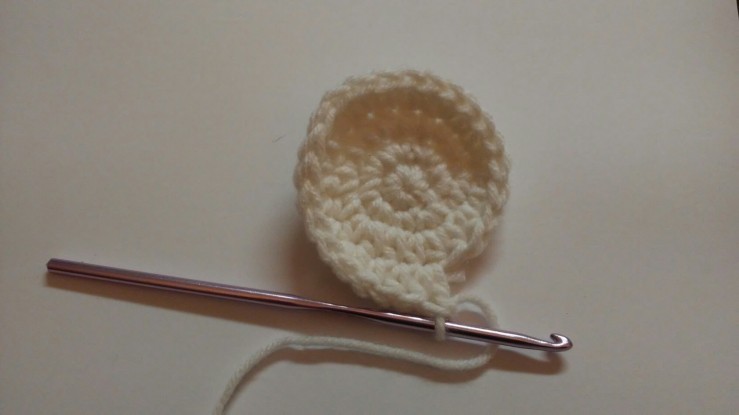
MC
6 SC (6 sts)
6 SC INC (12 sts)
1 SC, SC INC (18 sts)
2 SC, SC INC (24 sts)
3 SC, SC INC (30 sts) (with 3.5mm hook piece now measures 2 inches)
30 SC (30 sts)
30 SC (30 sts) *REPEAT THIS ROW 4-6 TIMES* (with 3.5 mm hook radius now measures 2 inch outside, 1 1/2 inch inside)
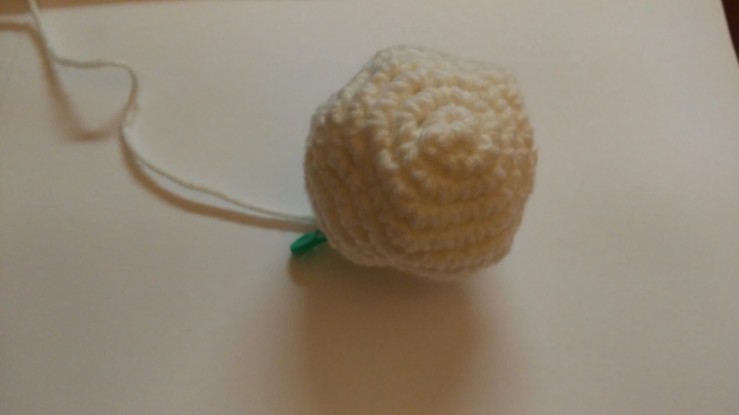
SC DEC, 3 SC (24 sts)
SC DEC, 2 SC (18 sts)
SC DEC, 1 SC (12 sts) *Turn inside out and start stuffing*
6 SC DEC (6 sts)
6 SC (6 sts) *Neck detail* *REPEAT THIS ROW 1-2 TIMES*
6 SC INC (12 sts)
1 SC, SC INC (18 sts)
18 SC (18 sts) *Repeat for 9 rows*
2 SC, SC DEC (14 sts) *Stuff*
1 SC, SC DEC ( 10 sts)
5 SC DEC (5 sts)
Sew closed
Legs
G hook, Worked in the round from the foot up to the thigh, do not join
Mark beginning of each round, make 2 legs duh
6 SC into MC (6 sts)
3 HDC, 3 SC (6 sts) *this is for toe shapes*
6 SC (6 sts)
6 SC (6 sts)
2 DEC, 2 INC (6 sts) *this is for ankle shape*
6 SC (6 sts) *REPEAT THIS ROW 10-12 TIMES* or until piece measures 2.5 inches from ankle detail* pinch in half and notice where ankle is folding then line the next row up on top of that and fudge a few more stitches in if you need to.
3 HDC, 3 SC (6 sts) *this is for knee detail*
4 HDC, 2 SC INC (8 sts) *this is where your thigh starts*
8 SC (8 sts) *REPEAT THIS ROW 6 TIMES until desired leg length is achieved
Ch 1, reverse direction, go opposite way and 4 SC for hip detail
Arms
Steel #5 hook or D hook, worked in a chain based round from the hand up to the shoulder, do not join. Mark beginning of each round, make 2
***You can also start this pattern in the traditional round (6 SC into MC) but I find it easier to start it this way when using a smaller hook because it creates more of an ‘oval’, but do whatever method works best for you and your hands***
Ch 4
3 SC down one side of the starting Ch 4, 3 SC up the other side (6 sts)
6 SC (6 sts)
6 SC (6 sts) *REPEAT THIS ROW 9-10 TIMES or with G hook about 1 1/2 to 2 inches long
2 SC INC, 2 SC, 1 HDC, 1 SC (8 sts)
8 SC (8 sts) *REPEAT THIS ROW 9-10 times or with G hook about 1 1/2 to 2 inches long measured from elbow bend
Turn and work 3 SC in the opposite direction for shoulder detail,
Tip: You might have to fold and bend the arm a little to see where the elbow bends. Then make sure you line the 3 SC shoulder detail up accordingly by adding or removing a stitch or two if necessary.
EXTRAS FOR HARRY
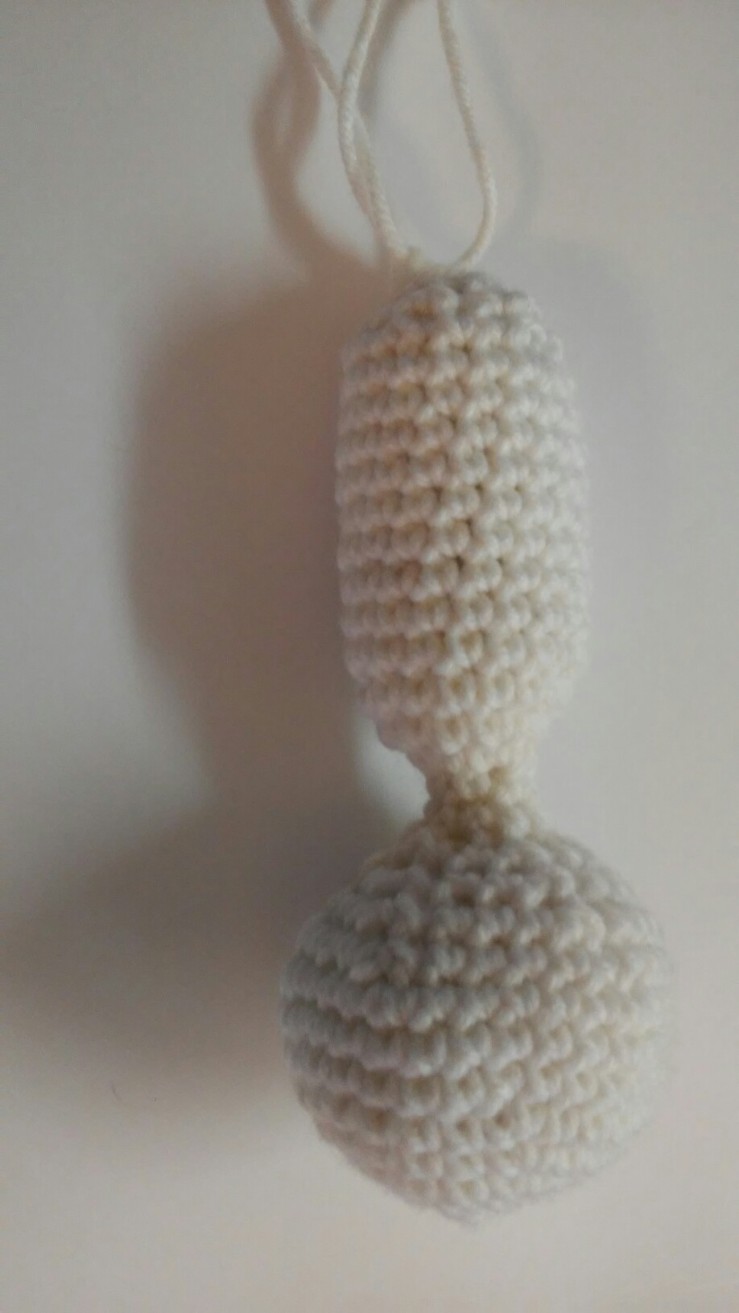
Cock and Balls
Note: These little details and such were worked with scrap pieces of yarn and other ‘spare parts’ I have lying around. I freehand most of them and would encourage you to try it too. They are tiny silly pieces of art, so while I try to write down the patterns you might have to fudge the numbers to make your piece work for you and your hands.
Steel #5 hook, deconstruct yarn into 2 ply by unraveling it apart
Worked in 3 pieces; head, shaft, sack
Head
Do not join
10 SC into MC (10 sts)
10 SC INC (20 sts)
20 SC (20 sts)
20 SC (20 sts)
Weave tail in between last row of stitches to pull tight/gather onto shaft during assembly
Shaft
#5 steel hook, Ch 1 turn at end of each row
Ch 13
12 SC (12sts) REPEAT THIS ROW for 4 or 5 rows
Sew together like a tube to form a shaft
Sack
Do not join, G hook
6 sc into MC
Switch to #5 steel hook 6 sc (6 sts)
SC inc, SC inc, 4 SC (8 sts)
8 SC (8 sts)
Assembly
Sew legs and arms on first. Attach sack to body. Thread shaft through tiny head and pull tight where the gather, like a little mushroom. Attach mushroom to body appropriately above shaft.
Tits
#5 steel
12 SC into MC (12 sts)
12 SC INC (24 sts)
24 SC (24 sts) *REPEAT THIS ROW until desired boob shape is achieved*
Top Hat
10 SC into MC (10 sts)
10 SC INC (20 sts)
20 SC (20 sts)
20 Back Loop Only SC (20 sts)
Work in several unjoined rounds, decrease every 4 stitches as you go
When you have reached desired top hat length, work 2 SC INC in every stitch for brim
One more row of SC for brim


")
")


